DOKO DEMO ISSYO (PS1) EMULATION TUTORIAL
- Download XEBRA (go to the bottom of the page and click on XEBRA FOR PC), PK201 (go to the bottom of the page and click on the first image of Toro sleeping), PocketStation BIOS, the game's ROM, and unzip all of them.
- Go to the PocketStation BIOS folder, cut J110.bin, paste it on PK201's folder, and rename it to KROM (not KROM.bin, make sure to not leave any extensions).
- Cut all the files inside PK201's folder (including the KROM) and paste them inside XEBRA's folder
- Run PK201.exe, and do the following:
- Select Run > Run/Pause;
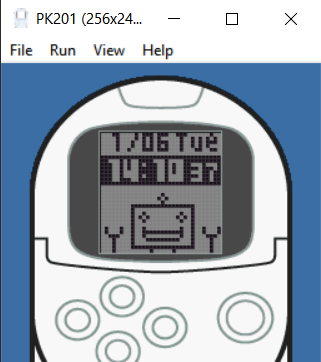
- Press K to skip the intro and while the screen is flashing use the WASD keys to set up the date with K to confirm;
- With the date set up go to File > Save STAT and then close. (IMPORTANT: You must always manually save your STAT before closing to avoid losing any progress!)
- Before opening XEBRA itself, it's important to know that the emulator itself is in Japanese by default, so to change it, do the following:
- Within the XEBRA's folder, go to the LANGUAGES folder;
- Select the language folder of your choice (preferably English to follow this tutorial accurately);
- Copy the XEBRA.LNG file within said folder and paste it into the main XEBRA directory.
- Open XEBRA.exe and before running anything, go to View > Video Output and then: Check "Use OpenGL", "Nearest" and "Progressive", with both the Drawing Skip and Display Skip to 1, and leave the rest unchecked (last steps mostly to prevent a weird ghost afterimage to happen).
- Go to File > Open > CD-ROM Image... and select the .bin file contained within your DDI folder, it should run automatically.
- If not, go to Run and select either Power (1) or Power (2).
- If the game comes out flipped go to View > Rotate(OpenGL) and click it enough times until it's correctly set.
- Before starting or continuing your game, make sure to select Run > Outer Card to connect with the Pocketstation.
- And finally, if you are curious about the controls and/or want to connect a controller, everything is on XEBRA's official tutorial.
- Now you can start the game, choose your Pokepi, select your information, and wait for the Pocketstation to format. If a "Pocketstation card is not formatted." message appears, simply press the confirm button (O) and it should format itself in-game.
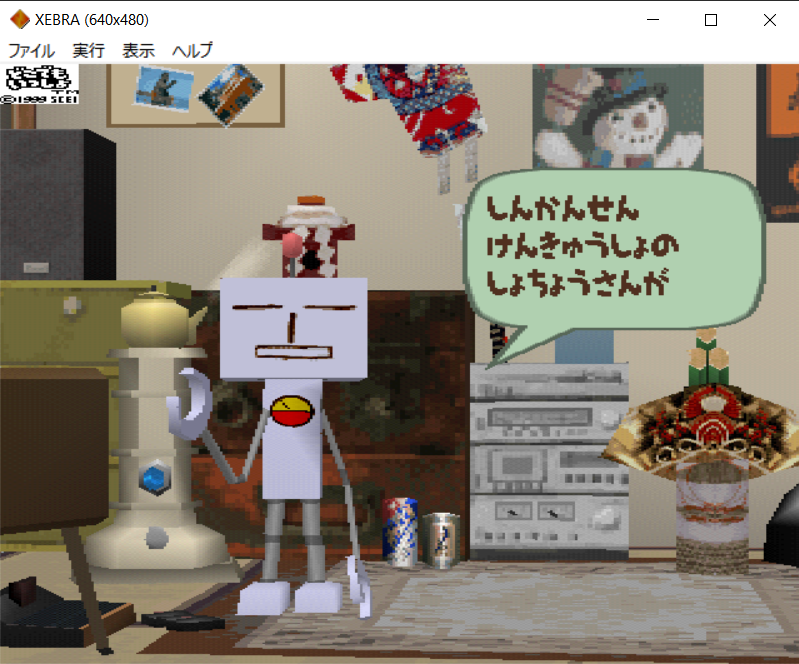
- And then, if done correctly, your chosen Pokepi will enter the room, introduce themselves, and now you're free to play the game and enjoy The Authentic DDI Experience.
ADDITIONAL INFORMATION:
- The game runs in real-time that you previously set up in your PK201, and so, a single playthrough will end in 10 real-time days if you constantly check on your Pokepi (leaving them unattended for too long will make them leave), but the overall game is infinite as you can choose another Pokepi afterward and repeat the cycle (which the game also acknowledges!). Have fun! ...You Will 100% Get Attached... Badly.
- If you're done playing, you'll have to leave to the title screen and then close the window, it'll save automatically.
- If you want to check on your Pokepi within the PocketStation instead, make sure that the game window is closed beforehand and open PK201 and then select it to Run > Run/Pause and then go to File > Load STAT and they will be there for you. (IMPORTANT: I swear to god, always remember to manually save your STAT before closing PK201 or progress will be lost!!)
- In-game time will not run automatically if neither XEBRA nor PK201 are not currently running DDI. You can leave either application running in the background for actual time to run or leave them closed to avoid consequences and leave your Pokepi to something akin to a cryofreeze. Nifty!
- Useful shortcut keys to use on XEBRA are: F6 to pause the game, F5 to unpause, and F4 to sync and de-sync respectfully (which I would call more as a flash-forward button) (IMPORTANT: Using these will mess with the in-game time! It will not break anything, don't worry, but it will make the time de-sync, so manage it carefully.)